Buildkite
In this tutorial, we'll create a project using Buildkite as the automation system and deploybot to manage deploys.
When code is pushed to GitHub in a Pull Request or merged, Buildkite will run a build/test pipeline to run unit tests and build a Go binary. Then we'll use deploybot to trigger a Buildkite deploy pipeline, step through deploy environments, or auto-deploy after tests pass on a branch.
Requirements
- Buildkite Account connected to GitHub
- Buildkite Agent with SSH Keys
- Deploybot installed on the repository or organization
Login to Buildkite. Check that you are running at least one Buildkite Agent that connects to Buildkite to listen for work.
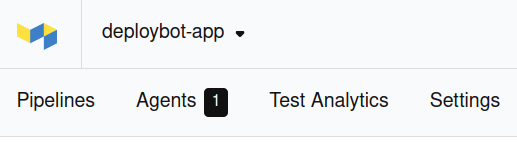
Buildkite Pipelines clone repositories (i.e. projects) so be sure your agent is configured with an SSH Key to allow cloning the project(s) you'll deploy.
GitHub
Create a GitHub repository for your project. You may wish to git clone or download deploybot-app/buildkite-example to get started.
git clone git@github.com:deploybot-app/buildkite-example.git
Connect Buildkite to GitHub so that Buildkite will later be able to run pipelines in response to GitHub Events.
A project may be anything you wish to deploy in some way. If you need some starter code, the example shows a tiny Go program and test.
Build / Test
Project build or test pipelines run language-specific unit tests, build binaries or container images, publish artifacts, upload packages, or push container images to a registry. With Buildkite, these test or build pipelines are triggered when code is pushed to GitHub.
Info
If your project already defines build or test pipelines or has a .buildkite/pipeline.yaml file, skip this section.
Create a new Pipeline for running a build or test. Add a name, description, and select the Git repository.
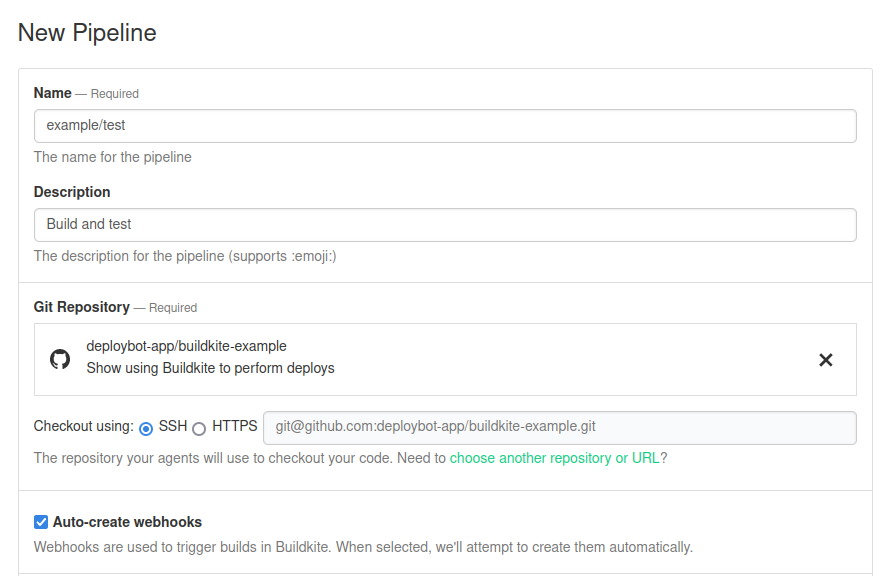
Under Steps, add a step to "Read steps from repository". This step will read .buildkite/test.yaml from source code to define the build and test process.
buildkite-agent pipeline upload .buildkite/test.yaml

Save the pipeline.
A projects' build or test pipeline can perform any steps you'd like to run on Pull Requests or merge. For this example, we'll add .buildkite/test.yaml just run a script.
# .buildkite/test.yaml
steps:
  - label: "🔨"
    command: "./scripts/test"
Deployment
A deployment is a process for rolling out a change to a target environment. A Buildkite deploy might update a binary, apply Kubernetes manifests, sync files to a CDN, upload a package, tag a release, ring a bell, or anything you can define in a Buildkite pipeline.
Create a new Pipeline for performing a deployment. Add a name, description, and select the Git repository.
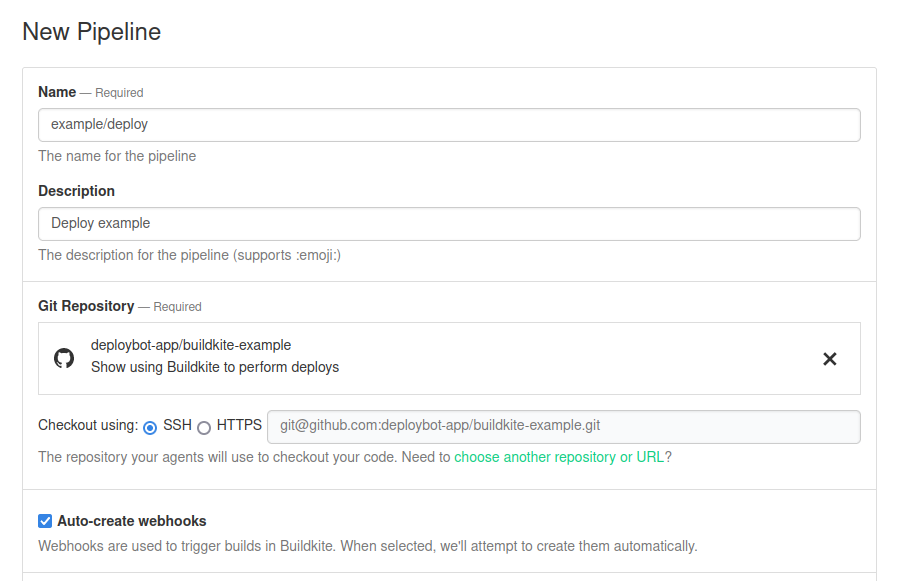
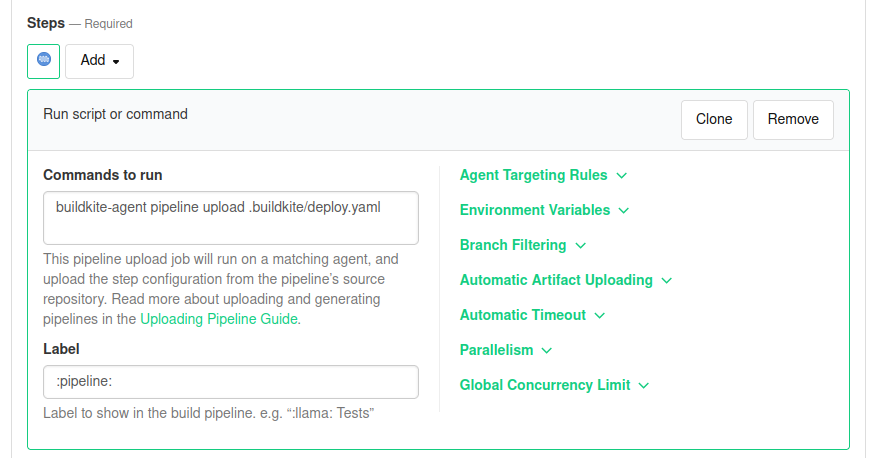
Under Steps, add a step to "Read steps from repository". This step will read .buildkite/deploy.yaml from source code to define the deploy process.
buildkite-agent pipeline upload .buildkite/deploy.yaml
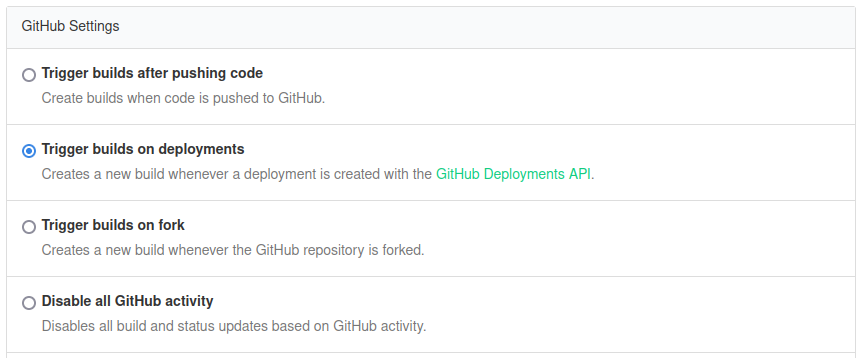
Save the pipeline. Find the pipeline in the pipeline list and choose "Pipeline Settings", then "GitHub". Unselect "Trigger builds after pushing code" and select "Trigger builds on deployments" and save. We want to precisely control when deploys are triggered and Buildkit supports GitHub Deployments for this purpose.
Warning
Be sure you've configured the pipeline with "Trigger builds on deployments". Don't skip this step.
Next add a .buildkite/deploy.yaml file with steps that should be performed on deploy. For example, we'll run a deploy script.
steps:
  - label: "🚀"
    command: "./scripts/deploy"
    concurrency: 1
    concurrency_group: "deploy"
#!/bin/bash
set -euo pipefail

echo "running on behalf of ${BUILDKITE_BUILD_CREATOR}"
echo "deploying ${BUILDKITE_COMMIT} to ${BUILDKITE_GITHUB_DEPLOYMENT_ENVIRONMENT}!"
Buildkite supports many environment variables that can be used in your deploy pipeline. A few that are especially relevant to deployments are:
BUILDKITE_GITHUB_DEPLOYMENT_ID- the GitHub Deployment IDBUILDKITE_GITHUB_DEPLOYMENT_ENVIRONMENT- the GitHub Deployment environment (e.g. development, staging, production)BUILDKITE_COMMIT- the Git SHA1 hash to deploy (e.g. 83a20ec058e2fb00e7fa4558c4c6e81e2dcf253d)
Deploybot
Add a deploybot configuration file to your project at .github/deploybot.yaml on the default branch. Define the GitHub Environments that should be deployable (up to 4).
# .github/deploybot.yaml
deployments:
- name: development
- name: staging
- name: production
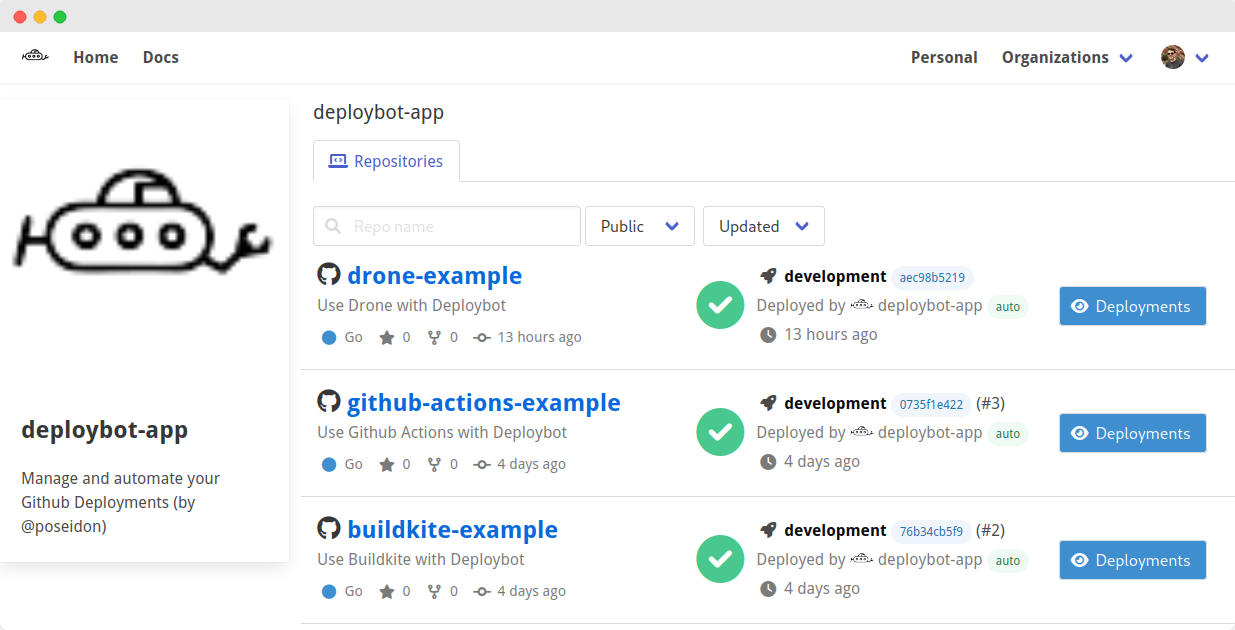
Login to deploybot. Find your project among your personal repos or organization repos.
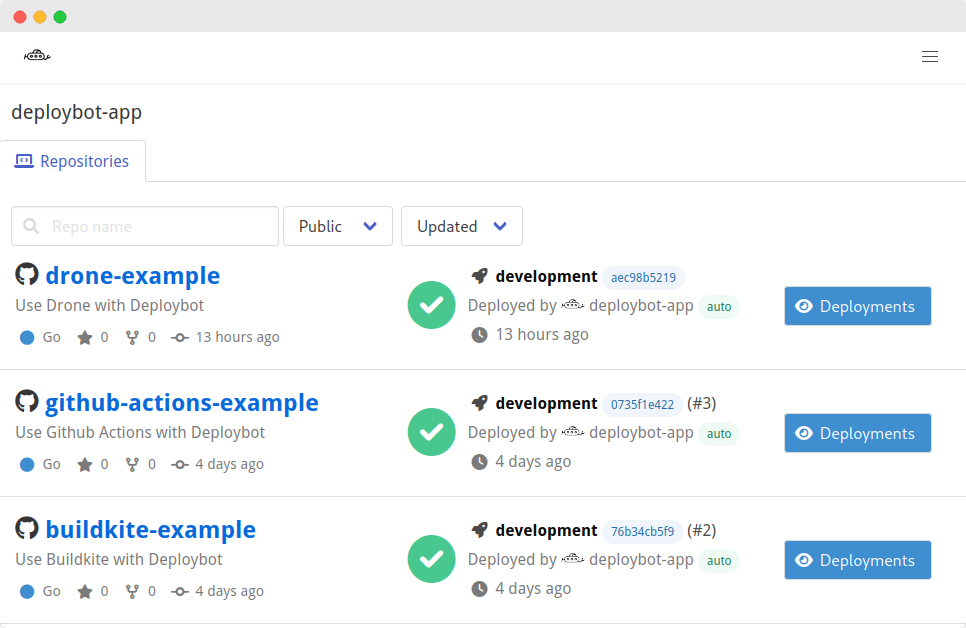
Manual Deploys
The commits timeline shows recent commits on the default or feature branches, while the deploy steps show deployable GitHub Environments.
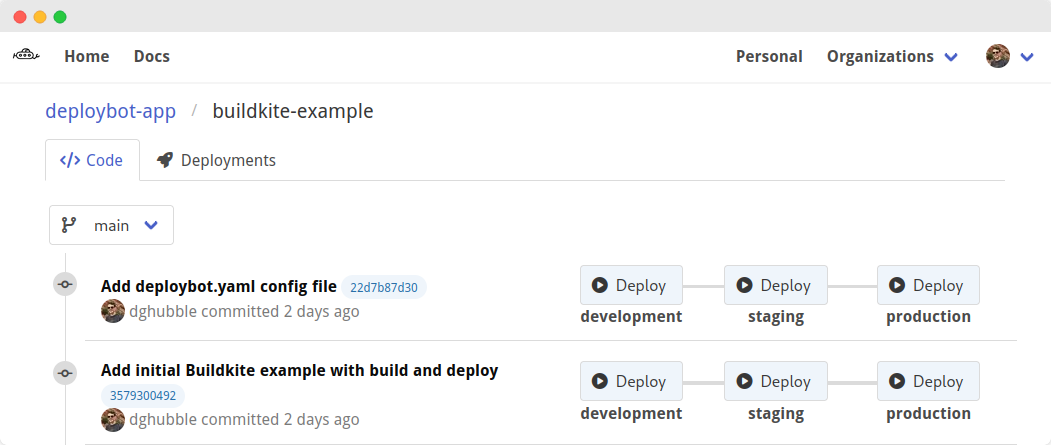
Use the Deploy buttons to create a GitHub Deployment of a commit to an environment. Each GitHub Deployment notifies GitHub that a deploy should be performed and triggers Buildkite to run the deploy pipeline.
Automated Deploys
Deploybot can be configured to deploy to environments automatically.
For example, set on_push: true to create a GitHub Deployment when a commit is pushed to the default branch, after it passes tests.
# .github/deploybot.yaml
deployments:
- name: development
  on_push: true

- name: production
  # still manual
Note
More advanced configuration settings are planned.
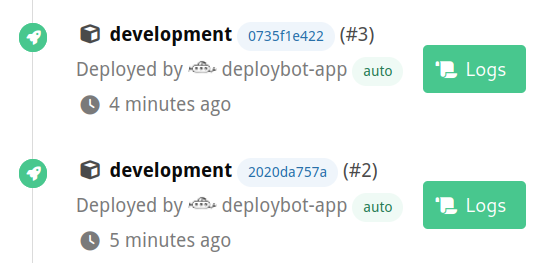
History
View recent deployment history across an organization or for an individual repository.